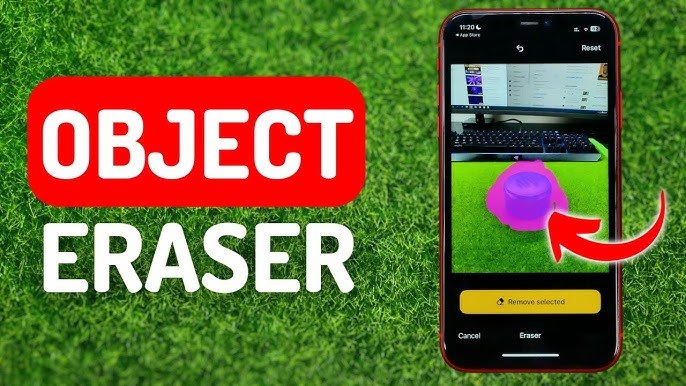
Removing unwanted objects from a photo can make a big difference in achieving the perfect look for personal or professional images. In this guide, we’ll explore effective methods and popular tools that can help you seamlessly edit out distractions, blemishes, or unwanted objects from your pictures.
What is Object Removal?
Object removal is a photo editing technique used to delete or replace elements within a photo. This process is popular among photographers, social media users, and designers who want to create a cleaner, more focused image by erasing unwanted elements such as people, signs, or other objects.
Why Use Object Removal in Photos?
Whether it’s for social media, professional purposes, or personal memories, object removal allows for:
- Enhanced focus on the subject: Unwanted objects can distract viewers, reducing the impact of the main subject.
- Improved aesthetic quality: Removing unnecessary elements can create a cleaner, more professional look.
- Personalized content: Adjusting a photo by removing items allows for customization to meet personal or brand aesthetics.
Techniques for Object Removal
Different techniques for object removal depend on the complexity of the photo and the tools available. Here are some widely-used methods:
1. Cloning and Healing Brushes
- Cloning: This involves copying pixels from one area and painting over the unwanted object, creating a seamless blend with the surrounding area.
- Healing: The healing brush allows you to blend an object into its background by adjusting the pixels for a smoother transition.
Best for: Removing small objects or blemishes, especially in areas with uniform color or texture.
2. Content-Aware Fill
- This technique analyzes the surrounding pixels and fills in the removed area with similar patterns and colors. It’s ideal for larger objects in complex backgrounds.
Best for: More detailed or complicated scenes, where the background needs to look natural after the removal.
3. Patch Tool
- With the Patch Tool, you can select an area and “drag” it over another section of the image to blend. This tool is perfect for scenes where you need to copy patterns.
Best for: Texture-heavy areas, like grass, sky, or water.
4. Artificial Intelligence (AI)-Based Removal Tools
- Many software applications now include AI-driven features that automatically remove objects by detecting and filling in the removed sections intelligently.
Best for: Quick edits, especially for social media photos or casual images.
Best Tools for Object Removal in Photos
Many tools offer object removal capabilities, ranging from mobile apps to professional-grade software. Here are some of the best options available:
1. Adobe Photoshop
- Known for its powerful editing capabilities, Photoshop offers a variety of object removal tools, including the Clone Stamp, Content-Aware Fill, and Healing Brush.
Pros: Ideal for professionals needing precise, high-quality edits. Cons: It has a learning curve and requires a subscription.
2. Snapseed
- Google’s Snapseed is a popular mobile app with an easy-to-use Healing tool for quick removal of small objects.
Pros: Free and user-friendly; perfect for on-the-go editing. Cons: Limited capabilities for complex object removal.
3. TouchRetouch
- This mobile app is specifically designed for object removal and offers tools like the lasso tool, brush, and line removal.
Pros: Specialized for object removal with an intuitive interface. Cons: Limited advanced features for professional editing.
4. Canva Pro
- While known for graphic design, Canva’s Pro version includes a Magic Eraser tool that can remove objects from photos with one click.
Pros: Great for beginners; easy integration into design projects. Cons: Basic editing features compared to Photoshop or other professional software.
5. Luminar AI
- Luminar AI leverages artificial intelligence for photo editing, including object removal. It offers a simple process for enhancing images without extensive editing knowledge.
Pros: AI-powered, user-friendly. Cons: Limited to photo editing features; no comprehensive design tools.
Tips for Effective Object Removal
- Zoom in for precision: Working closely allows for more accuracy, especially for detailed edits.
- Use multiple layers: Working in layers helps to revert changes or fine-tune adjustments without affecting the original image.
- Adjust brush settings: Changing the opacity, hardness, or size of the brush can make the edits appear more natural.
- Practice patience: Larger or complex objects might take time to remove cleanly. Don’t rush the process to ensure the best quality.
Common Mistakes to Avoid
- Over-blurring: Adding too much blur can make edits look unnatural.
- Ignoring lighting and shadows: When removing an object, keep the original lighting in mind, as shadows and highlights play a big role in making the edit look realistic.
- Rushing the process: Take time to blend the area properly. Quick edits may result in visible inconsistencies.
Conclusion:
Whether it’s removing a stray photobomber, eliminating unwanted background details, or perfecting your social media feed, object removal can help you achieve polished, professional-quality photos. By using the right techniques and tools, you can easily enhance the focus and appeal of your images.


